


so, where is the source file for this again?
-
http://www.railsimstuff.com
Just Blender now, 3DCrafter only when I have to.
Formerly The Keystone Works (All Permissions Granted)
Things I work on: https://github.com/pwillard
-
I don't quite understand your procedure here(?)
EDIT: What I have already tried, is using TGATool2 to open the associated texture file (*.ace) and send that to an image editor (PaintShop Pro).
Using PaintShop Pro, I copied the rear lights texture from the *.ace image file and pasted it on the rear protrusion position. The original location of the rear lights texture was overwritten by a copy of the surrounding black locomotive body texture. So there is only one instance of the rear lights remaining on the rear protrusion.
But, as mentioned in my earlier post(s), the copied rear lights texture image appears at the BOTTOM of the rear protrusion and NOT on the top of the rear protrusion. So it seems the rear lights texture image has to be "told" precisely where to be applied in the three dimensional sense, particularly along the Z axis (along the track) so that the rear lights image sits on top of the rear protrusion. And in order to do that, I suspect editing of the locomotive shape file for the rear lights texture coordinates may be required?Last edited by meeshu; 09-30-2025, 17:05.Comment
-
Info provided in post #17 that should have been provided in post #1
This Dwight Miller shape was the first MRL SD70ACe to be produced. A proper shape file to match the road scheme has never existed. Since then 2 additional MRL SD70ACe shapes have been produced, and both models are accurate for the road scheme. No shape file edits needed.
Agreeing with Yellowdog's sentiments, going back and trying to 'fix' the issues with shape #1, considering age and incorrectness it was born with, is not a productive use of anyone's time. Not when two alternate proper shapes, produced later, already exist, one freeware and one payware. Very odd that this even needs to be spoken out and does not already exist as common sense.
My Open Rails videos https://www.youtube.com/@lakecities3663/videosComment
-
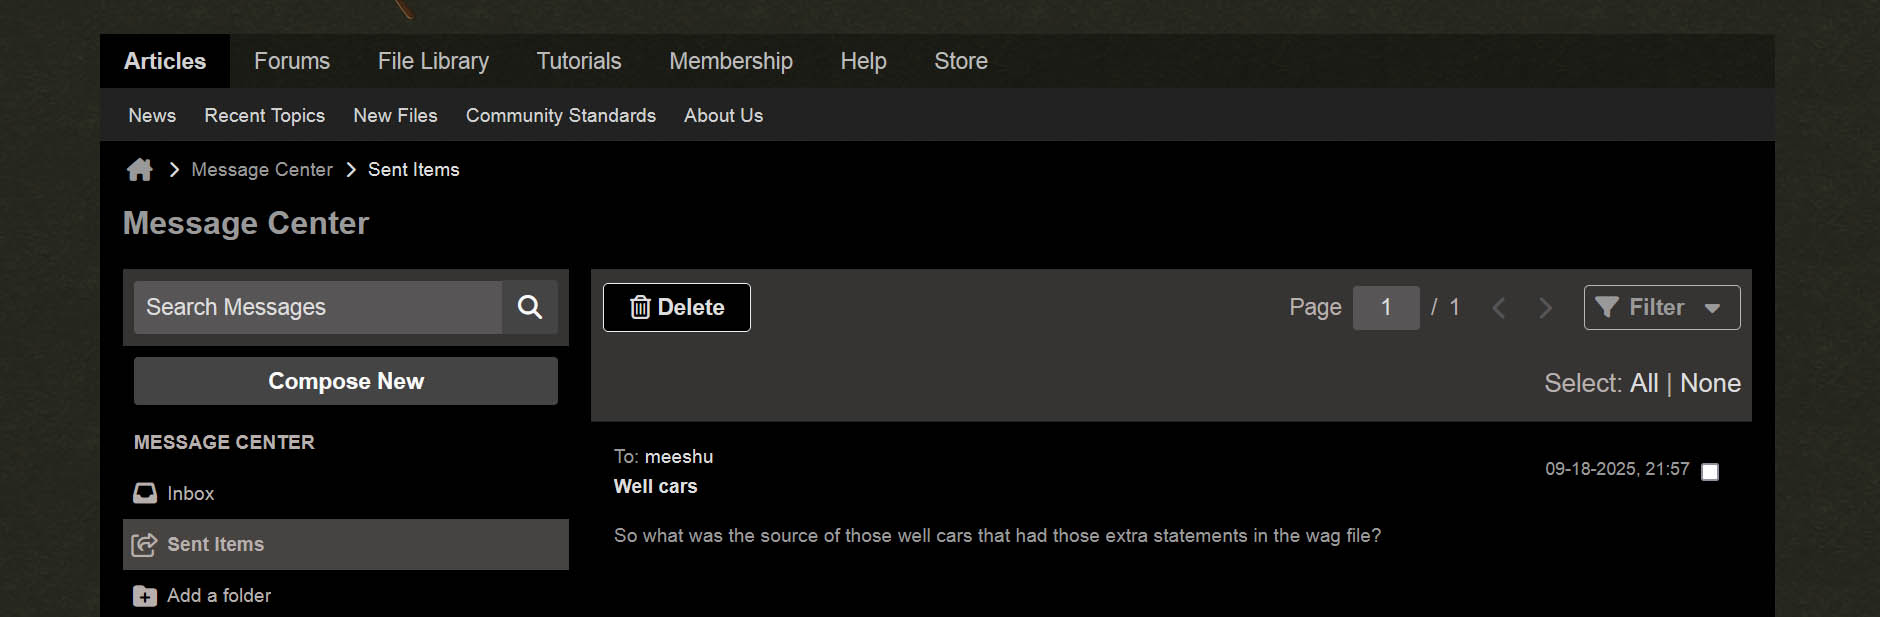
Here was the PM I sent back on 9-18. It asked you to identify the source of those 19 well cars that contained the rare, but 'broken' advanced coupler statements in the wag file that led to such strange graphics issues you encountered when first running brand new OR 1.6. Issues that were fixed for you, courtesy of people here, but detailed info that you did not share in any attempt to help others who might have the same downloads and who needed to be aware.
 My Open Rails videos https://www.youtube.com/@lakecities3663/videos
Comment
-
Well, there's your problem. And really not a great model by 2025 standards.
If you look carefully, the LAMP HOUSING on the model is mapped bottom left near the cab interior (Where you see wireframe outline) and not where the LAMP Texture actually is. The housing vertices are mapped to the BLACK part of the texture, so you would have had a hard time finding it by poking around blindly.
image.png
So, for example, Something like this will likely get you started on fixing it.
image.pngLast edited by pwillard; 10-01-2025, 07:33.http://www.railsimstuff.com
Just Blender now, 3DCrafter only when I have to.
Formerly The Keystone Works (All Permissions Granted)
Things I work on: https://github.com/pwillard
Comment
-
Thanks for the constructive detailed reply!
Yes, it appears to be not quite so straight forward to reposition the rear lights texture.
Regarding PM. I don't have any PM's in my inbox. So if anyone has/had sent me PM's, I didn't receive it/them.Comment


Comment